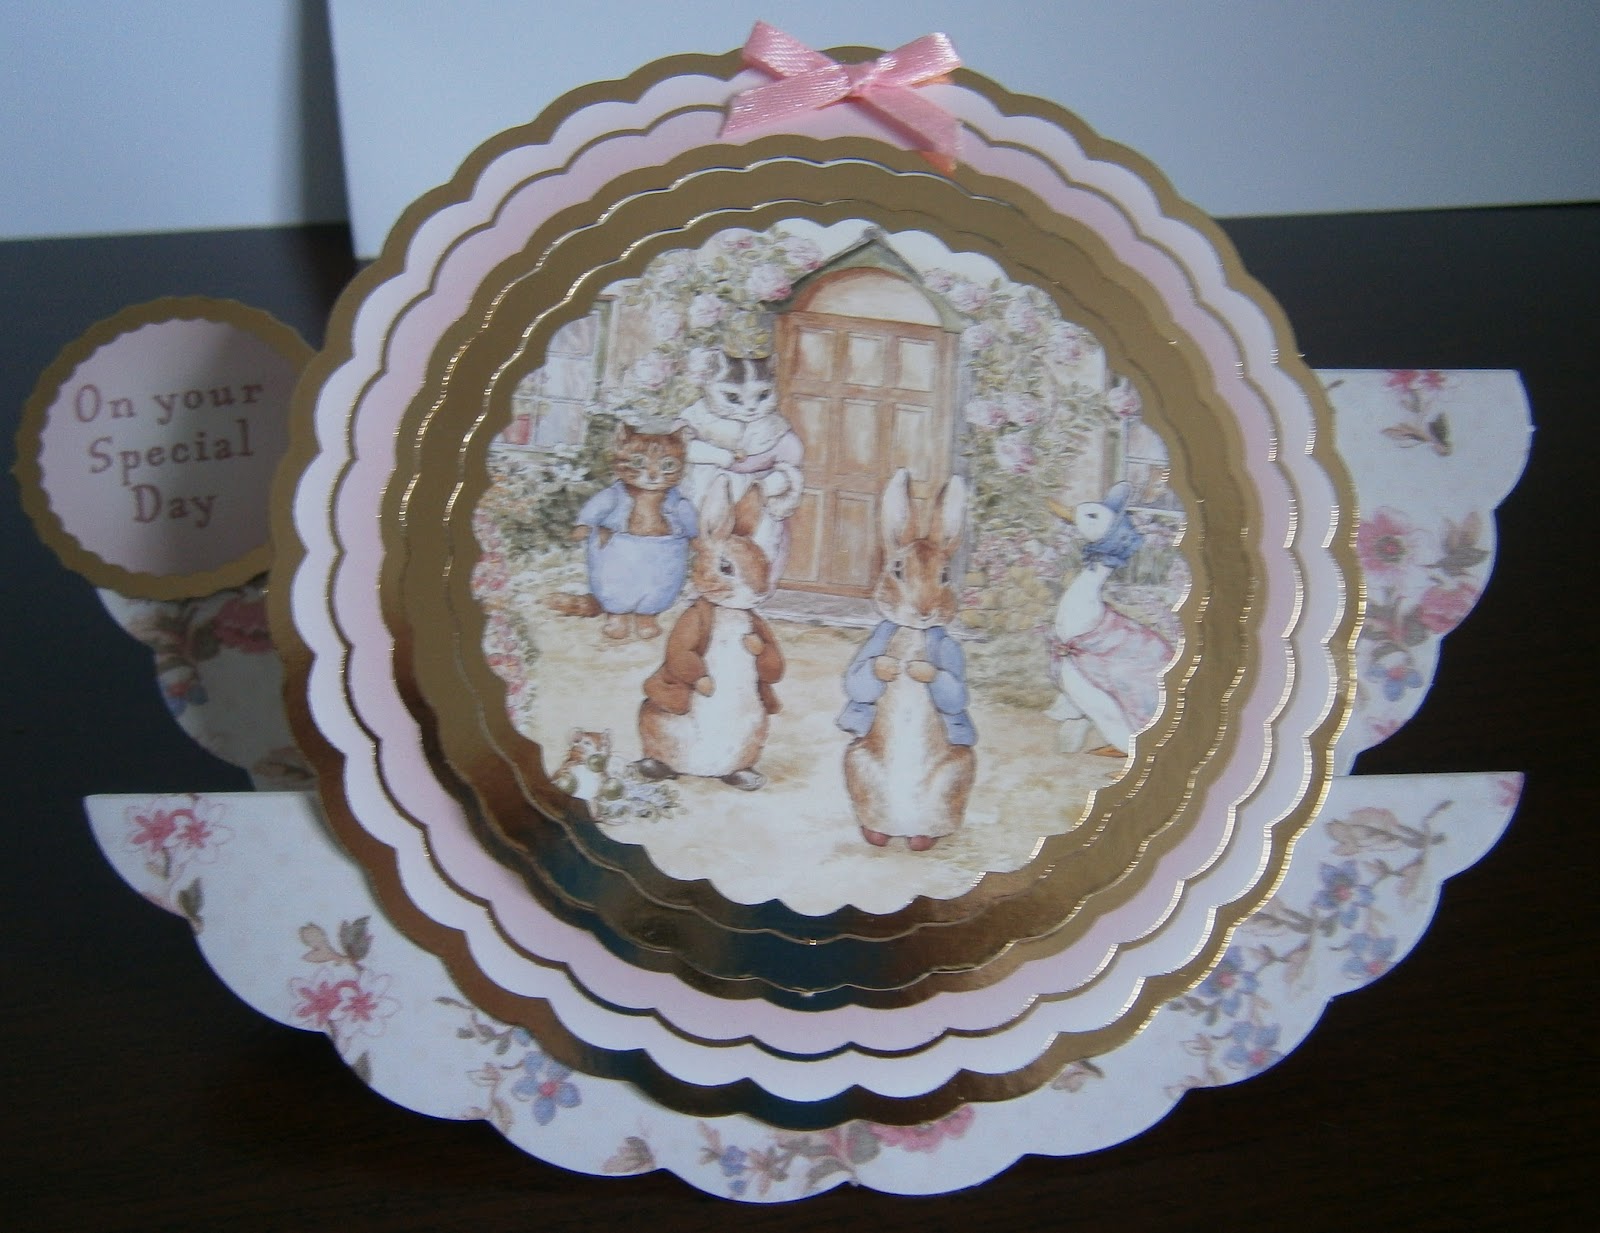
Here is the Peek-a-Boo card project using the
Crafters Companion Hunkydory kit from the Mulberry Wood collection as promised. I first made this card a couple of years ago, I got the idea from a magazine unfortunately I can't remember which one but thought that the
Mulberry Wood images would be perfect for it. This is a beautiful kit and if you would like to purchase it, then pop over to
Crafters Companion.
Things you will need :
Hunkydory Mulberry Wood kit from Crafters Companion
Ultimate Pro and boxer board
Scoring Tool
Glue
Speelbinder die standard circle
low tack tape
manual die cutting machine
2 small bows
Foam pads
1. I chose a piece of the A4 card stock with borders along each side. Using your
Ultimate Pro butt your card stock up to the edge of the
Ultimate pro and score along the A4 gatefold line. Turn your cardstock 180 degrees and score the same line again. Burnish using your bone folder.
2. Take some coordinating card stock and mat and layer onto the 3 inside panels of your card.
3. Cut a piece of cardstock 10 cm x 21cm, for this I chose a piece of cardstock with a character to give a bit more of a focal feature.
4. Next chose your image for the peekboo-a-Boo, I chose one of the large round images so that I could cut out my aperture using a spelldinder die. From the top of your piece of card measure down 3cm and using low tack tape stick your spell binders die in place and cut out using your die cutting machine.
5. Now cut a piece of matching cardstock to measure 24.5cm by 9.5 cm and cut in half. on one piece of your card mark the centre point and then measure 5cm down. On the back of your cardstock draw a V shape as shown. Now place both pieces of card on top of each other and cut out the V shape. Using your boxer board on the straight edge of both your pieces of card measure and score at 1.5cm across and burnish
6.Firstly to line up your image place this underneath your piece of card with the aperture cut out. Remove your piece of card and I would then mark this with a pencil line before lifting the image off the card to put the glue on, you will not see the pencil mark as it will be covered up. Then glue into place.


6. To line up the peek-a-boo mechanism , place your image under the cut out aperture ( do not glue this piece of card at this stage ) and slide in your 2 pieces of card with the V shape cut out at either side, with the folded flaps lined up flush to the left hand edge of your outer panels. When you have them lined up correctly place a small pencil at the top of each piece of V shape card so that when you glue these down you have a guide. Remove your piece of card with the aperture cut out and put to one side. Now for this I used a wet glue as it just you a bit of movement when lining up. I have crossed the V shapes over each other so that when it opens it looks like a camera shutter, now glue these into place just on the folded flaps and gently close you card to make sure that the mechanism works, as at this stage whilst the glue is still wet you can adjust them. When everything is ok let them dry.


7. Place glue just along the top and bottom of your piece of card that has the aperture cut out and stick over your shutter mechanism.
8. To decorate the two inside panels I used two small tags from the kit and two small matching bows.
9. For the front of your card, chose two toppers from the kit and place foam pads on part of the back as shown. Attach to the left hand side front panel.
I hope that you enjoyed making this card as much as I have.