Well today I thought that I would share with you a project using the Ecraft from Crafters Companion, I just love this machine and the more that I use it the more in love with it I become. The beauty is that you do not need any sticky mats and for me this is a god send. This Trinket box ( I got the idea from Ustampforfun and altered it so that I could use my ecraft ) makes a lovely way to give a small gift for Christmas, so here goes :

You will need:
Fundamentals 2 cartridge
3/5 sheets of 12 x 12 Coredinations cardstock
3/5 sheets of 12 x 12 Coredinations cardstock
Patterned Paper
Strong glue
Crafters Companion Boxer Board and small scoring tool.
4 round beads
Small pegs or paper clips
1 sheet photo copy paper
Strong glue
Crafters Companion Boxer Board and small scoring tool.
4 round beads
Small pegs or paper clips
1 sheet photo copy paper
Cotton wool or padding
1. Using your ecraft cut out two 3" circles on your photo copy paper. Fold one in half and then half again.


2. You then need to cut out twelve 3" circles using your Ecraft machine from your coredinations card. Then taking your 3" circle cut from your photocopy paper, using your boxer board and small scoring tool score four sides where I have maked with a pencil line.

3. Now taking 6 of your 3" circles you need to transfer these score lines onto each one. I found that the easiest way to do this was to place the photocopy paper circle on top of one of your 3" coredinations circles and score them both together, this will then transfer the score line to the underneath circle, again using your boxer board and small scoring tool.

4. After scoring your 6 coredinations circles, attach them to each other at the side. Please ensure that you use a strong wet glue, I found it was best to attach one at a time and wait till it is dry before you attach the next one. I used a small peg or paper clip to hold them together whilst they are drying.

5. Once you have joined all 6 circles together, you then need to join the two ends together to form the box base, again using a strong wet glue and leave to dry. Then using your Ecraft machine and some of your coredinations cardstock cut out two hexagons, for this I used the shapes on my toolbar on the lefthand side of the screen. These need to be 4.11" wide by 4.00 high. Putting some strong glue on the tabs inside place your first hexagon inside the box. This is now how the inside and outside of your base will look.


6 . Now taking your other hexagon shape place wet glue around the edge and stick to the outside of the box base.


7. Now to make the lid. Take your second 3" circle of photocopy paper and fold in half, then fold the two outer edges into the centre.


8. On your piece of paper using your boxer board and small scoring tool score the lines where I have marked with a pencil.

9. Taking your remaining six 3" circles of coredination cardstock, score these in the same way as you did for the base.

10. Using a strong wet glue stick these sections together, let each one dry before sticking the next one, use a small peg or paperclip to hold in place. Once they are all stuck together stick the two ends together. Cut a piece of card to measure 3.25" by 2.25", score this at 1.50 and then at 1.75", this will be your hinge. Score this as shown and attach as shown.


11. Once this has dried, place your lid onto some coredinations cardstock and draw around the lid and cut out. Trim your seams and place some cotton wool or padding into the lid, this helps to give it some shape. Place glue onto the inside of your tabs, place your hexagon under the tabs and press down, this now encases your lid.

12. Attach the lid to the box base as shown

13. To decorate the inside of the lid I used the Fundamentals 2 cartridge. For the first layer using the Flower Shapes image 13 I cut this 3.50" wide and 3.50" high using green card. For the second layer I used red card and cut out image 14 again on the Flower Shapes, 2.74" wide and 2.56" high.

14. Now to decorate the outside of the box. For the base I cut 6 layers in green card 2" x 1.75" and then another six layer in red backing paper 1.75" x 1.50". Glue these together and stick them to the outside panels of the base.
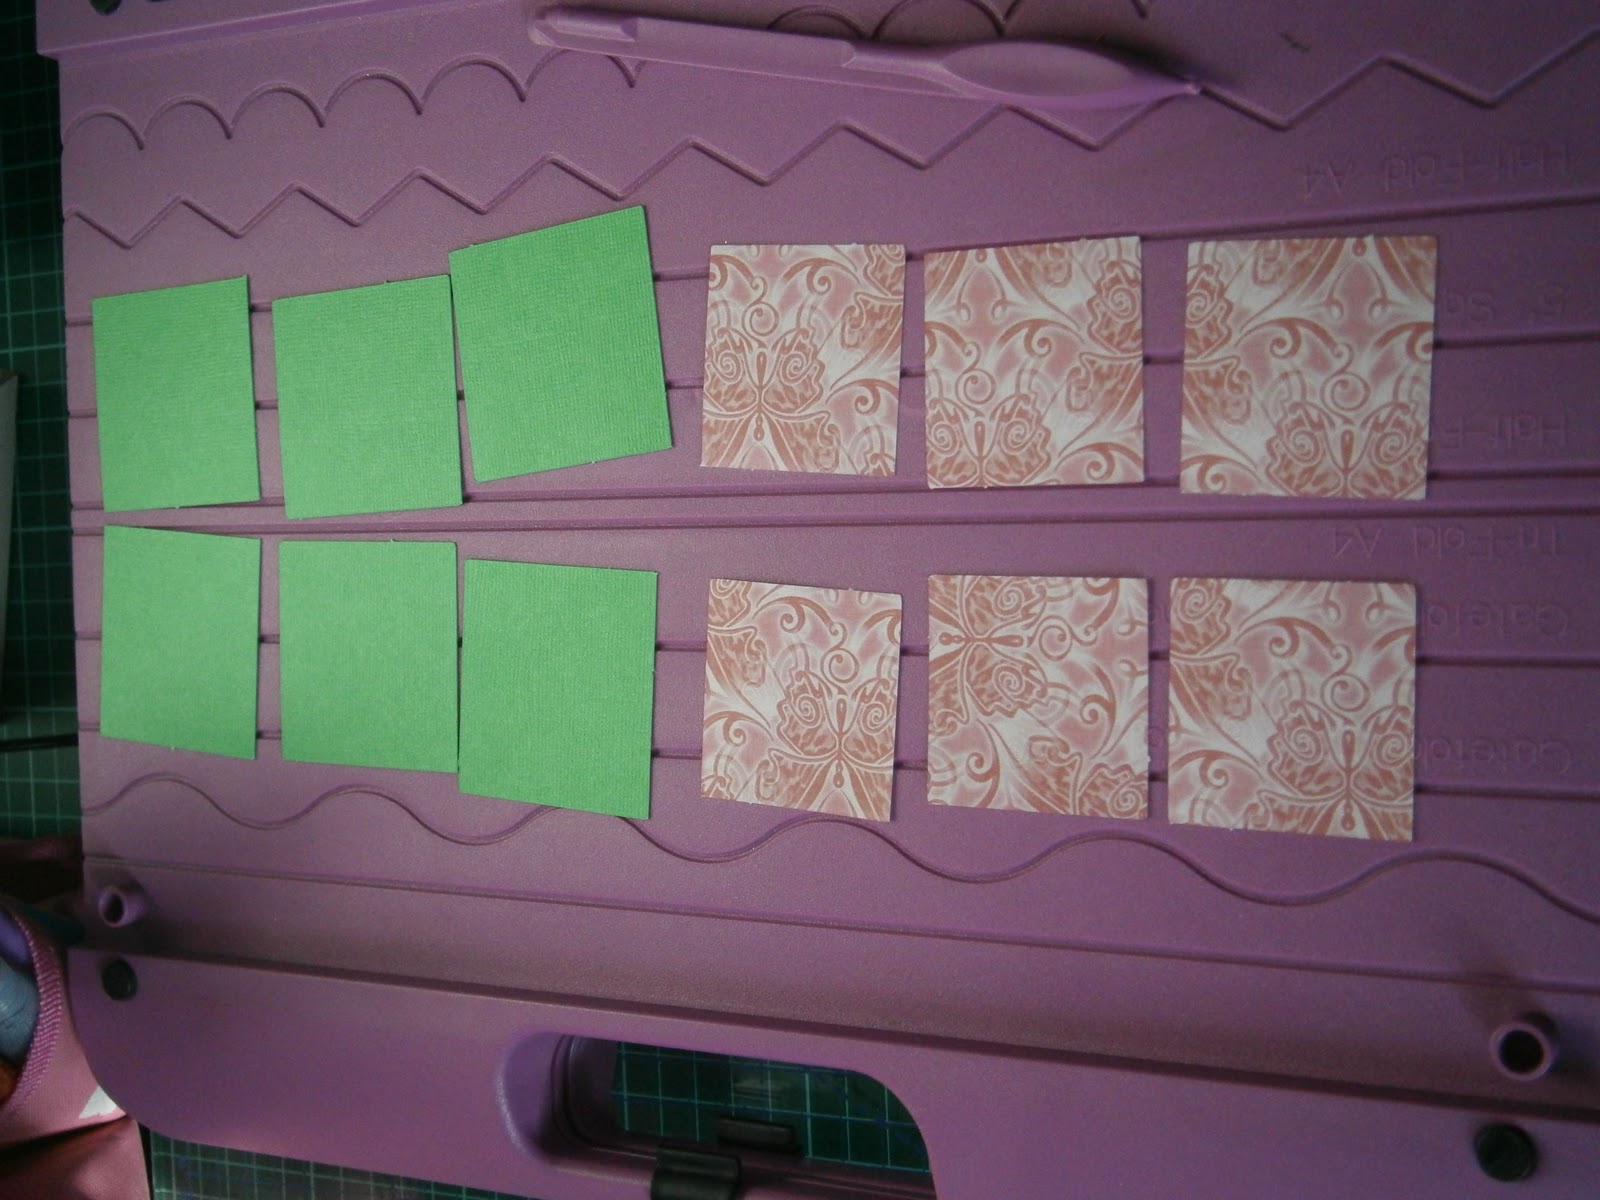

15. To decorate the lid and again using green card I cut 6 triangles 1.91" wide by 2.32" high and 6 triangles in red backing paper 1.59" high by 1.99" high. For these I used the shapes on the left hand side tool bar. Glue these together and stick them to the outside panels of the lid.


16. To decorate the base panels again I used Fundamentals 2 cartridge, Flower shapes. I cut 6 pieces from image 13 1.76" wide by 1.27" high, from green card. I then cut 6 pieces from image 14 1.27" wide by 1.28" high from red card.


17. Now stick your 4 beads to the bottom of the box.


3 comments:
What a gorgeous trinket box Pam.... Love the colour scheme. Must put it on my 'to do' list. Hope ur ok n see you next Saturday xxx
Great tutorial Pam and lovely box. xx
We are loving this! Great job!
Post a Comment