Hi this is a really easy card to make and I made it for my MIL birthday but you could just change the letters and make it for anyone.
Ecraft machine
1 sheet of 12 x 12 Core'dinations card Pastels
1 sheet of 12 x 12 Tim Holtz and Ranger Distress Collection
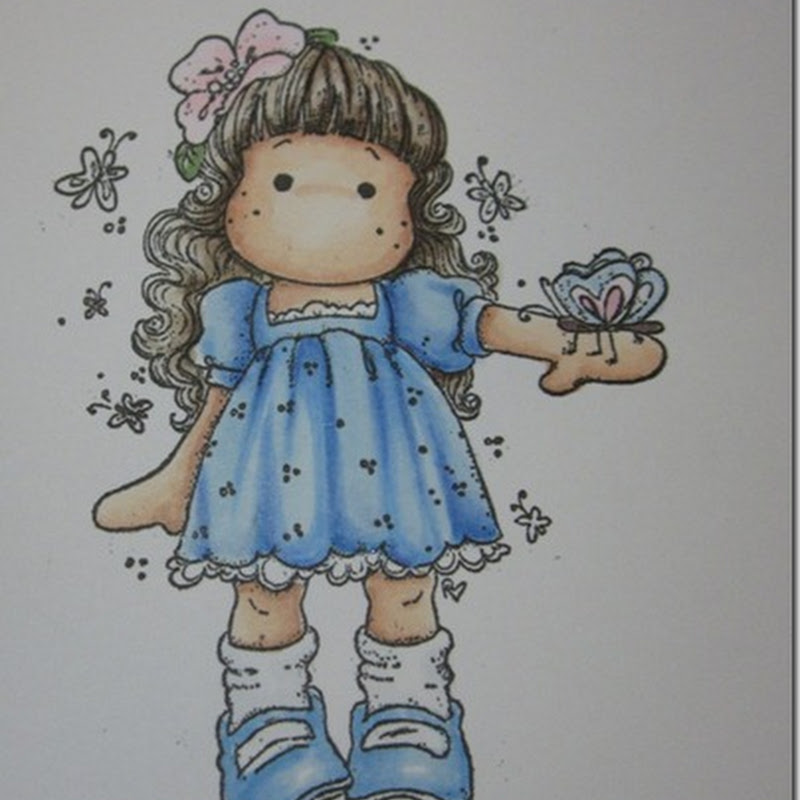
Flower Fairies CD-Rom (Rose) Crafters Companion
2 sheets Satin Finish Paper from Crafters Companion
Scalloped Edge Heart image from Ecraft
Glue
Foam Pads
Fundamentals 1
Glitter
Crafters Companion Ultimate Pro and Boxer board
Gems
PLEASE NOTE TO SEE THE SCREEN IMAGES BETTER JUST CLICK ONTO IT TO ENLARGE.
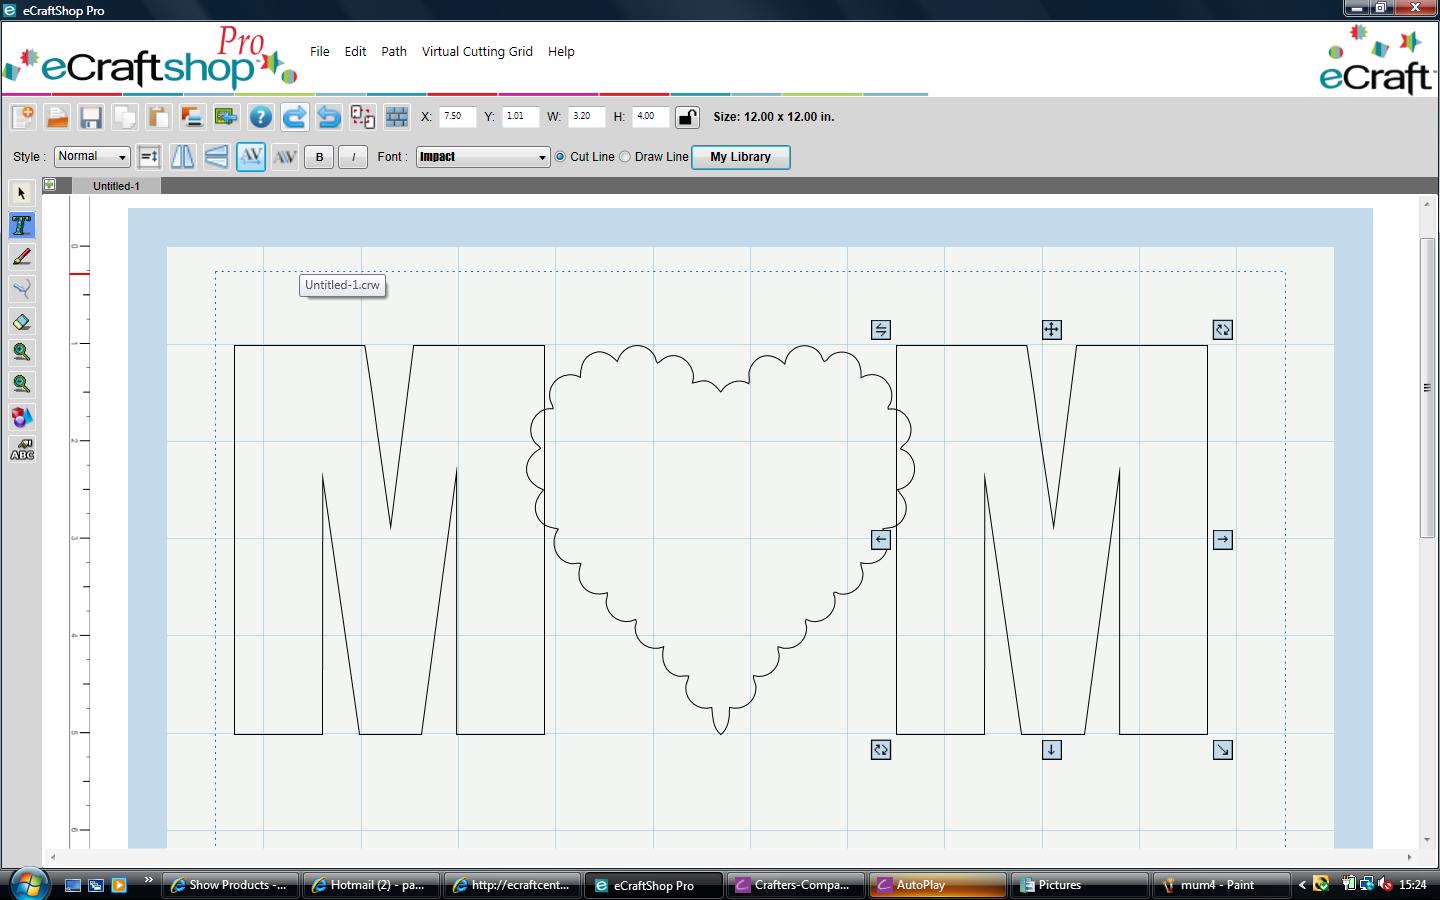
To design the card base open you mat in Ecraftshop pro software. Select the font your require I used Impact for this as it is a nice plain shape with the caps lock on, click onto the text button on the left hand side toolbar.

With the Caps lock on type the letter M. Resize this to 3.20" wide and 4.00" high. Copy and paste and move the second M to the other side of the mat.
Bring in your Scalloped Edge Heart Image, I personally deleted the drawn centre image as I am going to add a topper onto the heart. Resize your heart to 4.00" wide and 4.00" high. I found it easier to line these up if each one is level with the top of the second square on the mat.
Click onto the heart and using the Kern+ feature on the top toolbar slowly move this towards to the letter M on the left hand side of the mat, until they just overlap.
Click onto the second letter M and move again using the Kern+ feature and move towards the hearts again so they slightly overlap.
On your top toolbar click edit, select all.
Again on the top toolbar click Path, Union.
Now click on Paste and Copy
Click onto the top shape and flip using the Flip Vertical button on the top toolbar.
Click onto the bottom image and using your Kern + button move it up so that it just overlaps the top image.
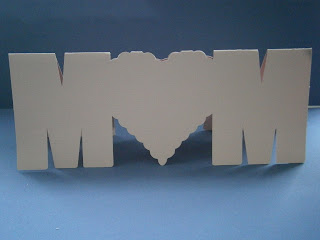
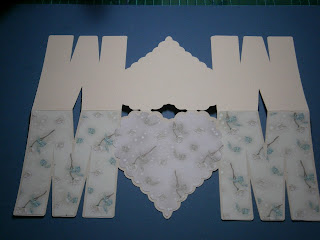
On your top toolbar click on edit, select all. Then click onto Path Union this will now join your images together. On the top toolbar change your style feature to shadow. Put your desired card into your Ecraft and cut out.
Fold your image in half and burnish with a bone folder.
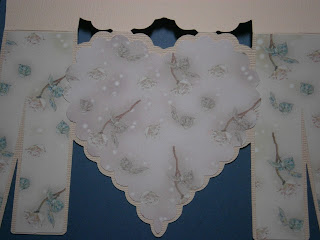
Bring a new mat into your Ecraftshop Pro and using the text feature on the left hand side tool bar and your font on IMPACT type two letter M's (don't forget these need to by with the Caps lock on) onto your mat, together with a Scalloped Edge Heart Shape. Resize your letters to 3.20" wide and 4" high and your heart 4" wide and 4" high. Make sure that your style is NORMAL on the top toolbar. Now cut these from your desired coordinating card or paper. For this I use a backing paper from the Flower Fairies Rose CD-Rom, Design 6 and colour 1 for the letter M and colour 6 for the heart. If you want to cut the flowers and heart in a different paper you will need to put them onto separate mats.
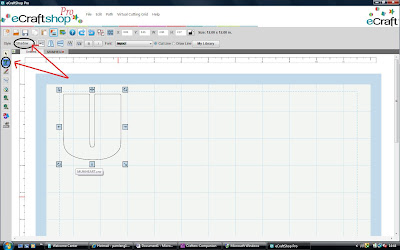
Using a new mat and your base cardstock make sure that your font in on Impact, click onto the text feature on the left hand tool bar and with your caps on type the letter U, then resize this to 2.06" wide by 2.37" high. Then change your style to shadow and cut out.
For the next layer I used my backing paper from the Flower Fairies Rose Design 6 colour 1. Keeping the letter U on your mat alter the style to normal and then cut out.
Place glue onto the back of both your letter M's and stick onto the card stock. Then place on your heart.
To make the flower embellishments ( I got this idea from Denise of Purple Paper Paradise ) using your fundamentals one flower section image 4, cut out of contrasting card 4 flower shapes 2" wide and high and then out of your backing paper 4 flower shapes 1.5" wide and high.
Now using the same flower reduce the size to 1.5" and cut out 4 of these using your backing of choice. Then glittered the outside edge of all the flowers.
Staring with your larger flower using your Ultimate Pro and boxer board score all the lines indicated on all 4 flowers. Then do the same with your small flowers.
Cut along one of the score lines in each flower to the centre and fold your score lines first starting with a mountain fold. Burnish. Now do the same with your smaller flowers.
Take two of the larger folded flowers and on one flower put some glue onto the first two folds.
Now place the first two folds of the other flower on top. Repeat this on the other side to make one complete flower. Make up the remaining flowers the same so that you have two larger flowers and two small.
Leave these to dry. I then cut a 1" circle of card and glued this to the back of the larger flower, this just enables you to arrange the mountain and valley folds and they will stay in place. Once this has dried glue your smaller flower on top. Glue a gem into the middle of the flower and attach to your card. Now matt and layer the letter U and place in the middle of the heart.
Thank you for popping over to my blog, hope you enjoy making this as much as I did
Pam x