

Things you will need :
Hunkydory Mulberry Wood kit from Crafters Companion
Ultimate Pro and boxer board
Scoring Tool
Glue
Speelbinder die standard circle
low tack tape
manual die cutting machine
2 small bows
Foam pads
1. I chose a piece of the A4 card stock with borders along each side. Using your Ultimate Pro butt your card stock up to the edge of the Ultimate pro and score along the A4 gatefold line. Turn your cardstock 180 degrees and score the same line again. Burnish using your bone folder.

2. Take some coordinating card stock and mat and layer onto the 3 inside panels of your card.

3. Cut a piece of cardstock 10 cm x 21cm, for this I chose a piece of cardstock with a character to give a bit more of a focal feature.

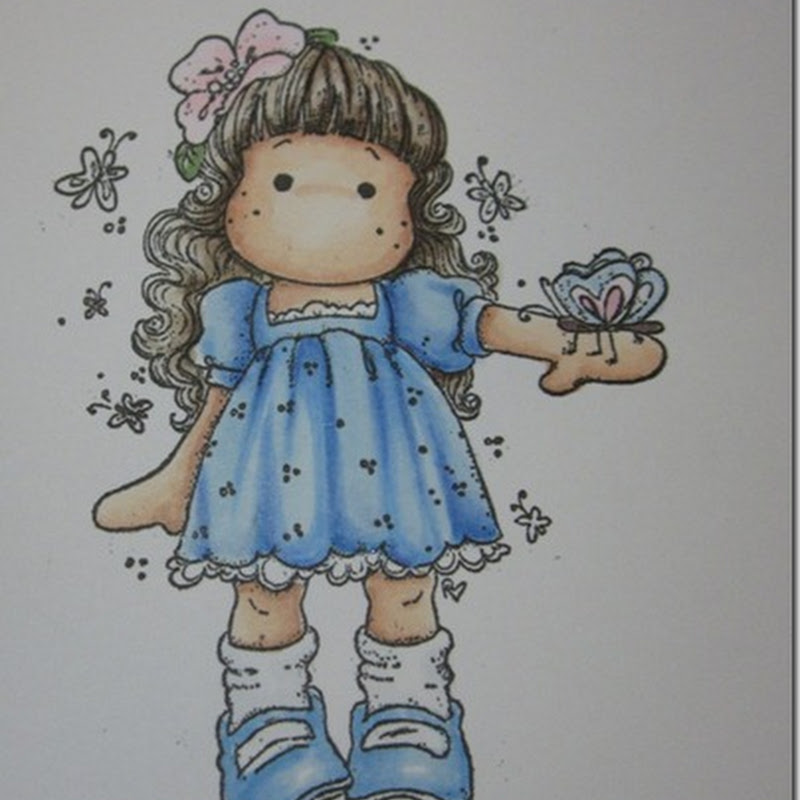
4. Next chose your image for the peekboo-a-Boo, I chose one of the large round images so that I could cut out my aperture using a spelldinder die. From the top of your piece of card measure down 3cm and using low tack tape stick your spell binders die in place and cut out using your die cutting machine.


5. Now cut a piece of matching cardstock to measure 24.5cm by 9.5 cm and cut in half. on one piece of your card mark the centre point and then measure 5cm down. On the back of your cardstock draw a V shape as shown. Now place both pieces of card on top of each other and cut out the V shape. Using your boxer board on the straight edge of both your pieces of card measure and score at 1.5cm across and burnish


6.Firstly to line up your image place this underneath your piece of card with the aperture cut out. Remove your piece of card and I would then mark this with a pencil line before lifting the image off the card to put the glue on, you will not see the pencil mark as it will be covered up. Then glue into place.


7. Place glue just along the top and bottom of your piece of card that has the aperture cut out and stick over your shutter mechanism.


8. To decorate the two inside panels I used two small tags from the kit and two small matching bows.

9. For the front of your card, chose two toppers from the kit and place foam pads on part of the back as shown. Attach to the left hand side front panel.


I hope that you enjoyed making this card as much as I have.


10 comments:
This is fantastic Pam thank you for sharing it with us.
Hugs Julie x
Genius!!! Thank you so much for sharing can't wait to give it a go. B xx
WOW this is excellent. Will definitely have a go when my kit arrives but doubt it will be as fab as yours. well done for coming up with a new type of card which I can see becoming a must have.
Gill
What a lovely card Pam..... can't wait to have a go . Thanx for the fab instructions xxx
Pam,
Just saw Sara demo your card - it is absolutely brilliant! Thanks so much for sharing and blogging the recipe - am now following you too. xxxx
Thank you for sharing this Pam, you didnt by chance make the Christmas Cracker that is on the crafters companion website in the gallery for mulberry woods, if so is there any chance you could do a tutorial for that too, thank you. Susan.xx
Hi Susan I used pre cut and scored Crackers card blanks from Which Craft to make the cracker, hope this helps
Pam xx
Wow, Pam this card desIgn is fabtastic;D. Seen Sarah demo the card design with The Snowman collection today in C&C & she mentioned you were the creative brains behind this card...had to put down everything & come find your blog & get the step by steps as I didn't trust my scribbled notes on how to create it lol;D. Fabtastic, I'm thinking this is going to become a very popular card design & well done for the great idea.
Crafty hugs
x o x
so interesting blog and article.... thanks for your sharing...
Your demo card so interesting ... Ilike them
Post a Comment